


We really got into sewing this year in our Montessori homeschool preschool! As with other Montessori works, scaffolding is important on the sewing shelves. You can’t just hand a child a bunch of materials and tell her to sew a pillow — you first have to teach her each individual step. Since this is our homeschool room instead of a full Montessori 3-6 classroom, I’ve skipped some of the trays you would have in the classroom for two reasons:
- Shelf space — I only have room for about 3 sewing trays to be out at a time.
- I only have one child here — with the one-on-one time she gets because of that, we can combine a couple things.
If you have a full Montessori classroom [or even just want extremely detailed lesson presentation instructions], I highly recommend Sewing in the Montessori Classroom: A Practical Life Curriculum.

We began with practicing three different kinds of stitches on cardstock. I punched some holes along the sides of a piece of cardstock and tied some yarn through the bottom holes. I put tape on the other end of the yarn so it would thread through the holes easily without unraveling — nothing too fancy here! Then I printed these simple stitch instructions for the running stitch, back stitch, and whip stitch, then presented one at a time. Nora practiced for days!
I don’t have a photo of our next lesson, but it was needle threading! I highly recommend this sewing kit because it comes with the perfect needles and threading tools for children. To thread, we stick the needle in the pincushion, push the threader through the eye of the needle, hook the thread on the threader, and then pull it back through.

I quickly realized after that last step that Nora didn’t know how to tie a knot! So I set up a knot tying work for her to practice using yarn — it’s thicker than thread, so a bit easier to practice with. Soon she had mastered that and was ready to add knot tying after threading the needle, then she was ready to sew on fabric!

We began by practicing the three stitches she had learned on cardstock with embroidery thread on patches of felt. Nora was almost 5 years old when we began this, so she quickly wanted to move on to using those stitches to actually make something with the felt…

…so we began by using the whip stitch to sew felt pockets! Nora sewed dozens of these and gave them away as the sweetest little gifts. I’ve also been using some of them to hold 3-part cards and other materials in our homeschool preschool room.
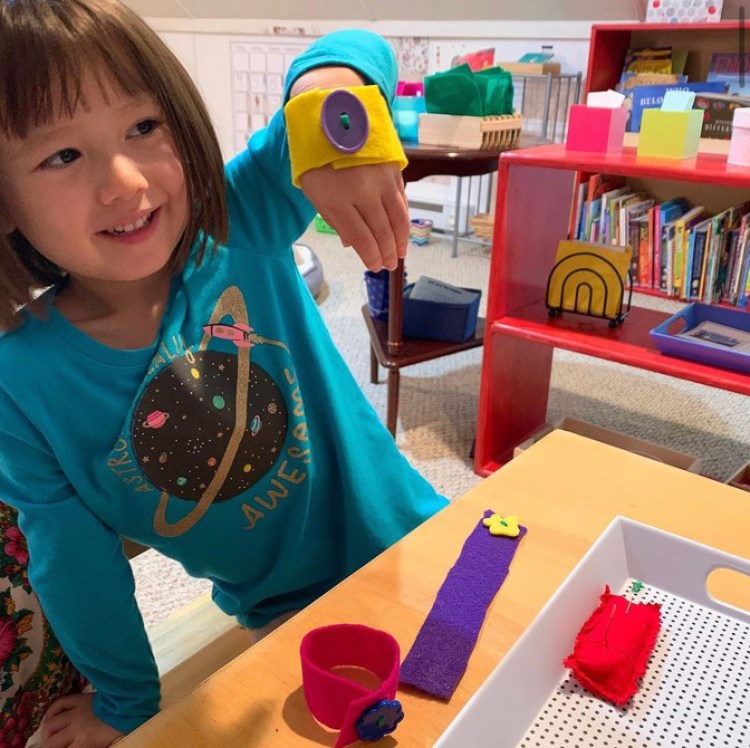
Nora’s favorite thing to sew is probably these button bracelets. I cut strips of felt and cut a button hole on one end, then showed her how to sew the button on the other end.

Next we worked on stitching prepared shapes on thinner fabric [the fabric that actually came with the sewing material I ordered]. Nora used a pen to draw shapes (a heart and her name in this picture), then covered the pen with a neat back stitch. This was great practice for the Christmas presents the girls made for family members this year:

I first saw this years ago (possibly from the same person who wrote the sewing book I recommend above) and filed it away in the back of my mind for Christmas gifts when the girls were old enough. This year we finally made it happen! I ordered a bunch of these dish towels and the girls drew designs on them before outlining them with embroidery floss.
These are the individual techniques we’ve worked on so far this year. The next step would be to combine them: for example, let Nora sew a pocket with a button closure.
I did sewing lessons a bit less formally with Lila, and she now has a whole sewing kit in her bedroom that she uses to design clothes for all of her stuffed animals. I love seeing what these two create!

You must be logged in to post a comment.